Showing posts with label Breads. Show all posts

Thursday, June 2, 2022

Focaccia

Shocking Easy No-Knead Focaccia

I don't make a lot of bread but this is one recipe I enjoy making and feel confident knowing it will turn out every time.  
This is a no knead, hands off and a shockingly easy Focaccia Bread recipe.  It does take time, 2 days but with little effort.   I'm just going to link you right to the recipe, Shocking Easy No-Knead Focaccia by Sarah Jampel at Bon Appetite.   Sarah shows you small step by step clips which are very helpful.  I've made this several times with a few changes and it always comes out great!  Thanks Sarah Jampel for a great recipe!!


Here are my tips:

1.  I always weigh my flour.  My water temp to dissolve yeast is about 110 degrees.

2.  In Step 3 clip, they show her using her hands to coat dough in bowl with oil but the dough is pretty wet so I just toss it in the bowl with a rubber spatula.  Also, after the dough has been in the fridge 8-24 hours, I let the dough sit until it gets to room temperature before I do the fork technique in Step 4.  The dough is more manageable.  You'll see the fork technique in Step 4's clip.  

3. In Step 4 I use a 9x13 pan and let it rise the full 4 hours.  My house is always on the cool side so it takes time to rise.

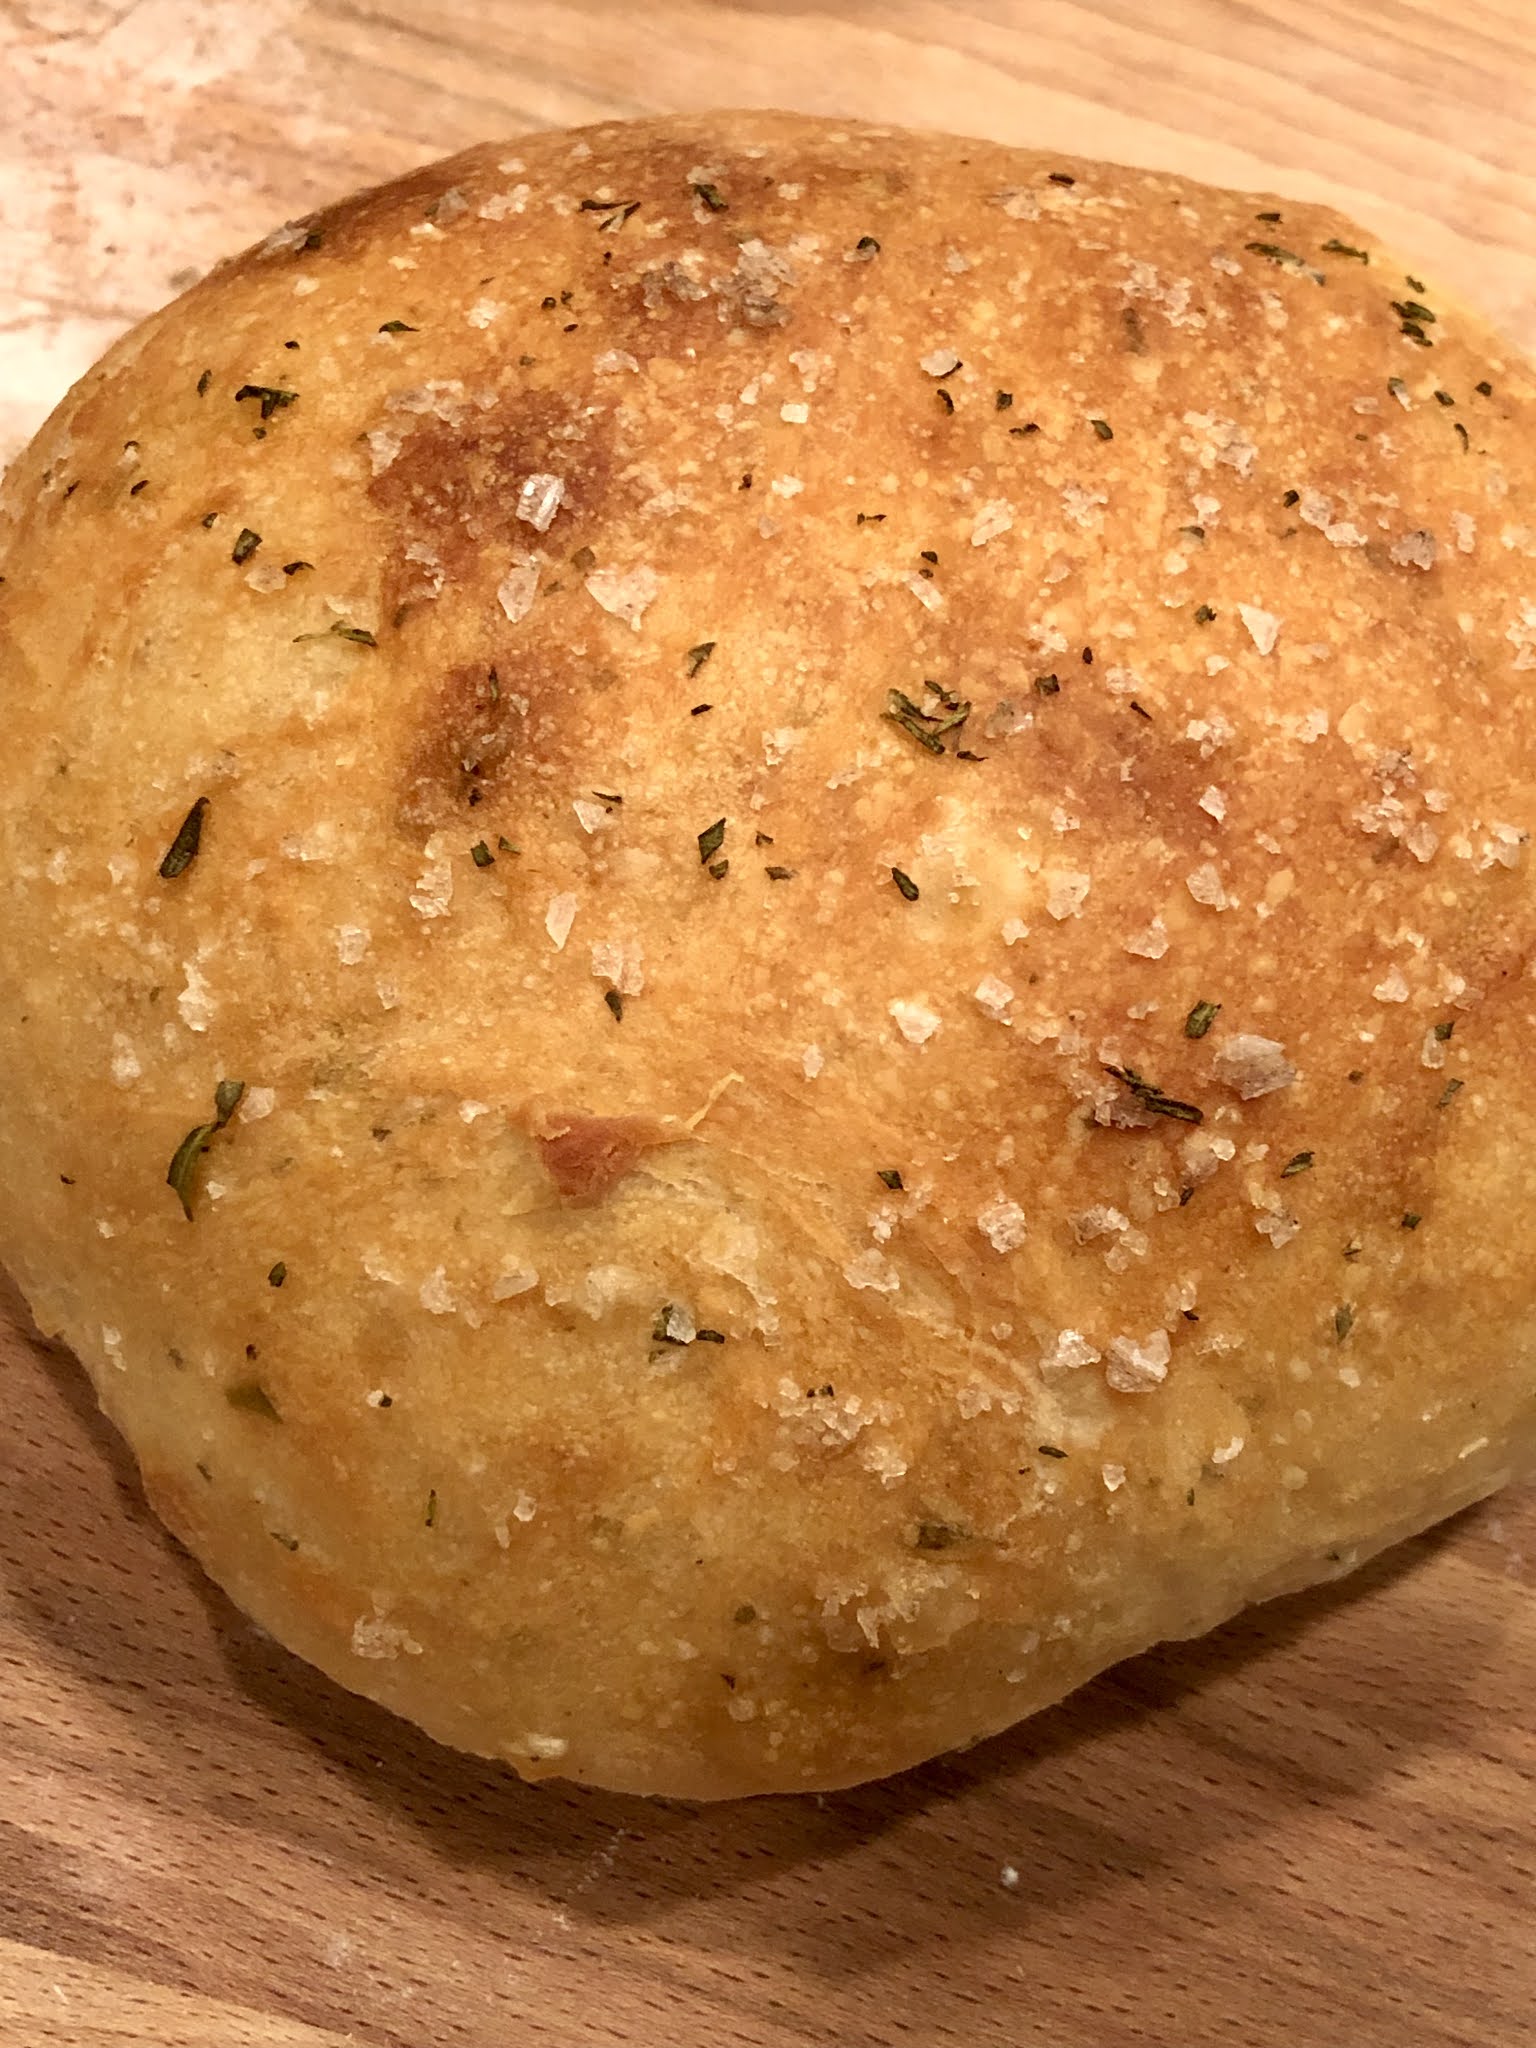
4.  I've never used the garlic butter at the end of the recipe.  I prefer it with a sprinkle of flaked sea salt.

5.  It's best eaten the day it's made but I always have some leftovers that I slice and freeze so I can pull out a slice or two when needed.


Tuesday, September 14, 2021

Rosemary Bread


This delicious bread recipe comes from Chris at the blog The Cafe Sucre Farine.  I LOVE her blog, yummy recipes that are easy to follow and always turn out.  She calls this bread, Ridiculously Easy Rosemary Bread because it only takes 5 minutes to prep and then after an 8 hour rise (or overnight, up to 12 hours), 10 minutes to shape and then in the oven for 25 minutes.  Warm bread just in time for dinner.  We had it last night with Eggplant Italian Sausage Gratin, which is also from her blog and today used the leftover bread for chicken salad sandwiches.  I didn't want to waste a single slice of this delicious bread so I sliced what was left and it's in the freezer ready for when I need toast for breakfast or I'm thinking it will make great croutons for salads.  

Check out Chis's Ridiculously Easy Rosemary Bread recipe herethe Cafe Sucre Farine.  She writes all you'll need to know and there's even a video to watch to be successful making this bread.  I've always been a little afraid of yeast but with Chis's great recipe and her advise I was thrilled with how well it turned out and will be making again and again!

*One more thing, Chris does mention this on the blog post but don't be surprised how wet and sticky the dough is right out of the bowl.  Just make sure you use plenty of flour on your work surface during the last step of kneading and shaping the dough into the two loafs.  Also, when setting the loafs of the parchment  covered cookie sheet, space them apart.  I had put mine too close together and when they rose in the oven they stuck together.  Not a big deal but giving them their space they will bake into a perfectly round loaf.  Happy Baking!!  


Thursday, January 2, 2014

Sausage Bread


I've been making this sausage bread every Christmas morning as long as I can remember because it's my son, Michael's  favorite.  I only make it once a year so to keep it special for our Christmas morning breakfast which consist of this sausage bread, an egg bake, fruit and muffins.  Every year I think, I really need to take a picture of this bread so I can blog the recipe.   Well, year after year, I get busy and forget!  But this year I remembered because my son asked for the recipe.  I guess he'd like it more than once a year!  


I don't make homemade dough because this Rhodes bread dough is easy and come Christmas morning I need easy!  The only hard part to this recipe is remembering to take the dough out of the freezer the night before to thaw.  Last year, I forgot, and let me tell you I had to scramble to make homemade dough and it was good BUT it wasn't easy. 
This recipe makes two of these loaves but can easily be halved if you only need one.


2 (loafs) Rhode White Bread, thawed (according to pkg. or overnight in the fridge
1-(16oz pkg.)  breakfast sausage (I like Jimmy Dean-regular)
1 onion, diced
1 can sliced mushrooms, drained
8oz cheese grated (I like to use pepper jack, monterey jack or mozzarella)
2 tablespoons butter 
Instructions:
1.  Preheat oven to 350.
2.  Sauté sausage and onion until cooked, add mushrooms and sauté just until heated.  Drain well.  Set aside.  (this can be made the day before)
3.   Spray 2 cookie sheets lightly with non-stick cooking spray. Roll (shape) each loaf into a rectangle. Cover with plastic wrap and let rest 15 minutes.
4.  Remove wrap from dough and top sausage mixture evenly over each rectangle. Top evenly with cheese.
5.  Roll each rectangle, jelly roll style, starting with the long side. Pinch ends together to seal tucking ends under. Place on baking sheet seam side down.  Bake each on their own baking sheet so that each loaf bakes evenly.  Switch pans half way between baking time.  Bake at 350°F 45-55 minutes. When loaves come out of the oven spread the top with butter.  Remove from pan to cool10 minutes before slicing.

Saturday, October 26, 2013

Mini Vanilla Bean Scones


This recipe comes from Ree-Pioneer Woman and they are delicious!  It took me forever to make this recipe because once I found out how much a vanilla bean costs (about $5-$7 each), I couldn't bring myself to buy three of them.  I searched every grocery store for the lowest price and  found them at Woodman's grocery store for $2.19 each and then at Costco for $11.99 for 10.  If you think ahead you can also buy them online for a good price.   I've made these scones several times and they are so worth it.  They are tender with a hit of vanilla and are slightly sweet from the glaze.  They freeze great and only take about 20 minutes to thaw so you can enjoy them with your morning coffee whenever you want to treat yourself.
Woodman's $2.19 each


Costco $11.99 for 10
The first time I made these scones I followed Ree's recipe exactly but then I tried to make it easier by using a food processor and then shaping them differently. I also don't make as much glaze as she does because she covers the whole scone in glaze and I just covered the top.  Sometimes my shortcuts don't work out but this time they did and the scones were just as good as the originals.  For whatever reason I don't enjoy the time it takes to cut the butter into the flour but a food processor does it in a snap with a few pulses.  Shaping the dough into 3 circles was easier than trying to get the dough into a large rectangle like Ree does.  She makes it look so easy as I saw her make these on her Food Network Show.  Check out her blog post for her recipe as she shows 31 step by step photos!


Put foil under the rack to catch the extra frosting for easy cleanup.


Scone Ingredients:

  • 3 cups All-purpose Flour
  • 2/3 cups Sugar
  • 5 teaspoons Baking Powder
  • 1/4 teaspoon Salt
  • 2 sticks (1/2 Pound) UNSALTED Butter, Chilled
  • 1 whole Large Egg
  • 1 cup Heavy Cream
  • 2 whole Vanilla Beans
  • Glaze Ingredients:

  • 3 cups Powdered Sugar, Sifted
  • 1/4 cup Whole Milk, More If Needed For Thinning 
  • 1 whole Vanilla Bean
  • Dash Of Salt

Preparation Instructions

Preheat oven to 350 degrees.
Split the vanilla beans down the middle lengthwise and scrape out all the vanilla "caviar" inside. (Click here to see how to use a vanilla bean) Stir caviar into cream. Set aside for 15 minutes.
In a large food processor add Sift flour,  sugar, baking powder, and salt.  Pulse a few times to combine.  Cut cold butter into pats, then  add  to the flour mixture in the food processor.  Pulse until the butter in cut into the flour.
Mix vanilla cream with egg, then combine with flour mixture;  pulse food processor until it comes together.
Turn dough onto a floured surface and divid into 3 equal portions.   Using your hands Lightly press each portion and form into three circles about 1/2 inch thick.  Then using a knife or I like to use a pizza cutter, cut each circle into 8 pieces. 
Transfer to a parchment or baking mat-lined cookie sheet and bake for 13-15 minutes, removing from the oven just before they start to turn golden. Allow to cool for 15 minutes on the cookie sheet, then transfer to a cooling rack to cool completely.
VANILLA GLAZE
To make the icing, split one vanilla bean in half lengthwise and scrape out the caviar. Stir caviar into milk; allow to sit for awhile. Mix powdered sugar with the vanilla milk, adding more milk if necessary to get the right consistency. Stir or whisk until completely smooth.  You'll want consistency to be thin enough (but not too thin) to dunk  top of scone into glaze and then let excess drip off.  
One at a time, carefully dunk top of each cooled scone in the glaze.  Transfer to parchment paper or the cooling rack. Allow the glaze to set completely, the glaze will be dry to the touch, about an hour. Scones will keep several days if glazed or freeze using wax or parchment paper between layers so you can easily remove and they won't stick together.  ENJOY!

Makes 24 scones


Monday, November 12, 2012

Pumpkin Bread


I have to post this recipe again because it's that time of year for everything pumpkin.  I LOVE this pumpkin bread, it is spiced with cinnamon, ginger, nutmeg, and cloves.  So much flavor and is perfectly moist.  The slightly adapted recipe comes from Allrecipes.com - Downeast Maine Pumpkin Bread.  I make 6 mini loaves, that way I can share the loaves or freeze what we're not going to eat right away.


Ingredients:
1 (15 ounces) can pumpkin puree
4 eggs
1 tsp vanilla 
1 cup vegetable oil
2/3 cup water
3 cups white sugar
3 1/2 cups all-purpose flour
2 teaspoons baking soda
1 1/2 teaspoons salt
1 teaspoon ground cinnamon
1 teaspoon ground nutmeg
1/2 teaspoon ground cloves
1/4 teaspoon ground ginger
pumpkin seeds (optional)
Directions:
1. Preheat oven to 350 degrees F (175 degrees C). Grease and flour six  5.75 in x3 in (mini) inch loaf pans.
2. In a large bowl, mix together pumpkin puree, eggs, vanilla, oil, water, and sugar until well blended. In a separate bowl, whisk together the flour, baking soda, salt, cinnamon, nutmeg, cloves, and ginger. Stir the dry ingredients into the pumpkin mixture until just blended. Pour into the prepared pans.  Sprinkle some pumpkin seeds over the top of each loaf.
3. Bake for about 35-40 minutes in the preheated oven. Loaves are done when a toothpick inserted in center comes out clean.  Let cool 15 minutes and remove from pans.

Friday, October 7, 2011

Pumpkin Bread

I love this pumpkin bread, it is spiced with cinnamon, ginger, nutmeg and cloves.  So much flavor and is perfectly moist.  Recipe comes from Allrecipes.com - Downeast Maine Pumpkin Bread.  I make 6 mini loaves, that way I can share the loaves or freeze what we're not going to eat right away.


Ingredients:
1 (15 ounce) can pumpkin puree
4 eggs
1 cup vegetable oil
2/3 cup water
3 cups white sugar
3 1/2 cups all-purpose flour
2 teaspoons baking soda
1 1/2 teaspoons salt
1 teaspoon ground cinnamon
1 teaspoon ground nutmeg
1/2 teaspoon ground cloves
1/4 teaspoon ground ginger
Directions:
1. Preheat oven to 350 degrees F (175 degrees C). Grease and flour six 5.75x3 (mini) inch loaf pans.
2. In a large bowl, mix together pumpkin puree, eggs, oil, water and sugar until well blended. In a separate bowl, whisk together the flour, baking soda, salt, cinnamon, nutmeg, cloves and ginger. Stir the dry ingredients into the pumpkin mixture until just blended. Pour into the prepared pans.
3. Bake for about 40-45 minutes in the preheated oven. Loaves are done when toothpick inserted in center comes out clean.